Finishing The Chevron Tapestry
Now that you're done weaving, you're going to weave another row of soumak just like the first one. The fun thing about this hemp warp is that it's just a little bit... sticky? That's not the right word, but it just knots so well. I love it. I actually want to try doing some macrame on the fringe of a piece warped with this, but that will have to be for another day. Or maybe you want to try?

When you've finished you're soumak, and tied knots on both ends like you did with your initial soumak row, you are ready to release your weaving from the loom.
*Note: If you warped on a larger loom, you may want to weave both tapestries on the same warp as to not waste warp. Instead of cutting your weaving off, advance your weaving (learn how to do that here) and leave about 12 inches of warp before you begin your second tapestry.
For some reason, this is always a little bit scary for me. It's like I think the whole weaving is going to combust if I release it. Don't worry, it won't.
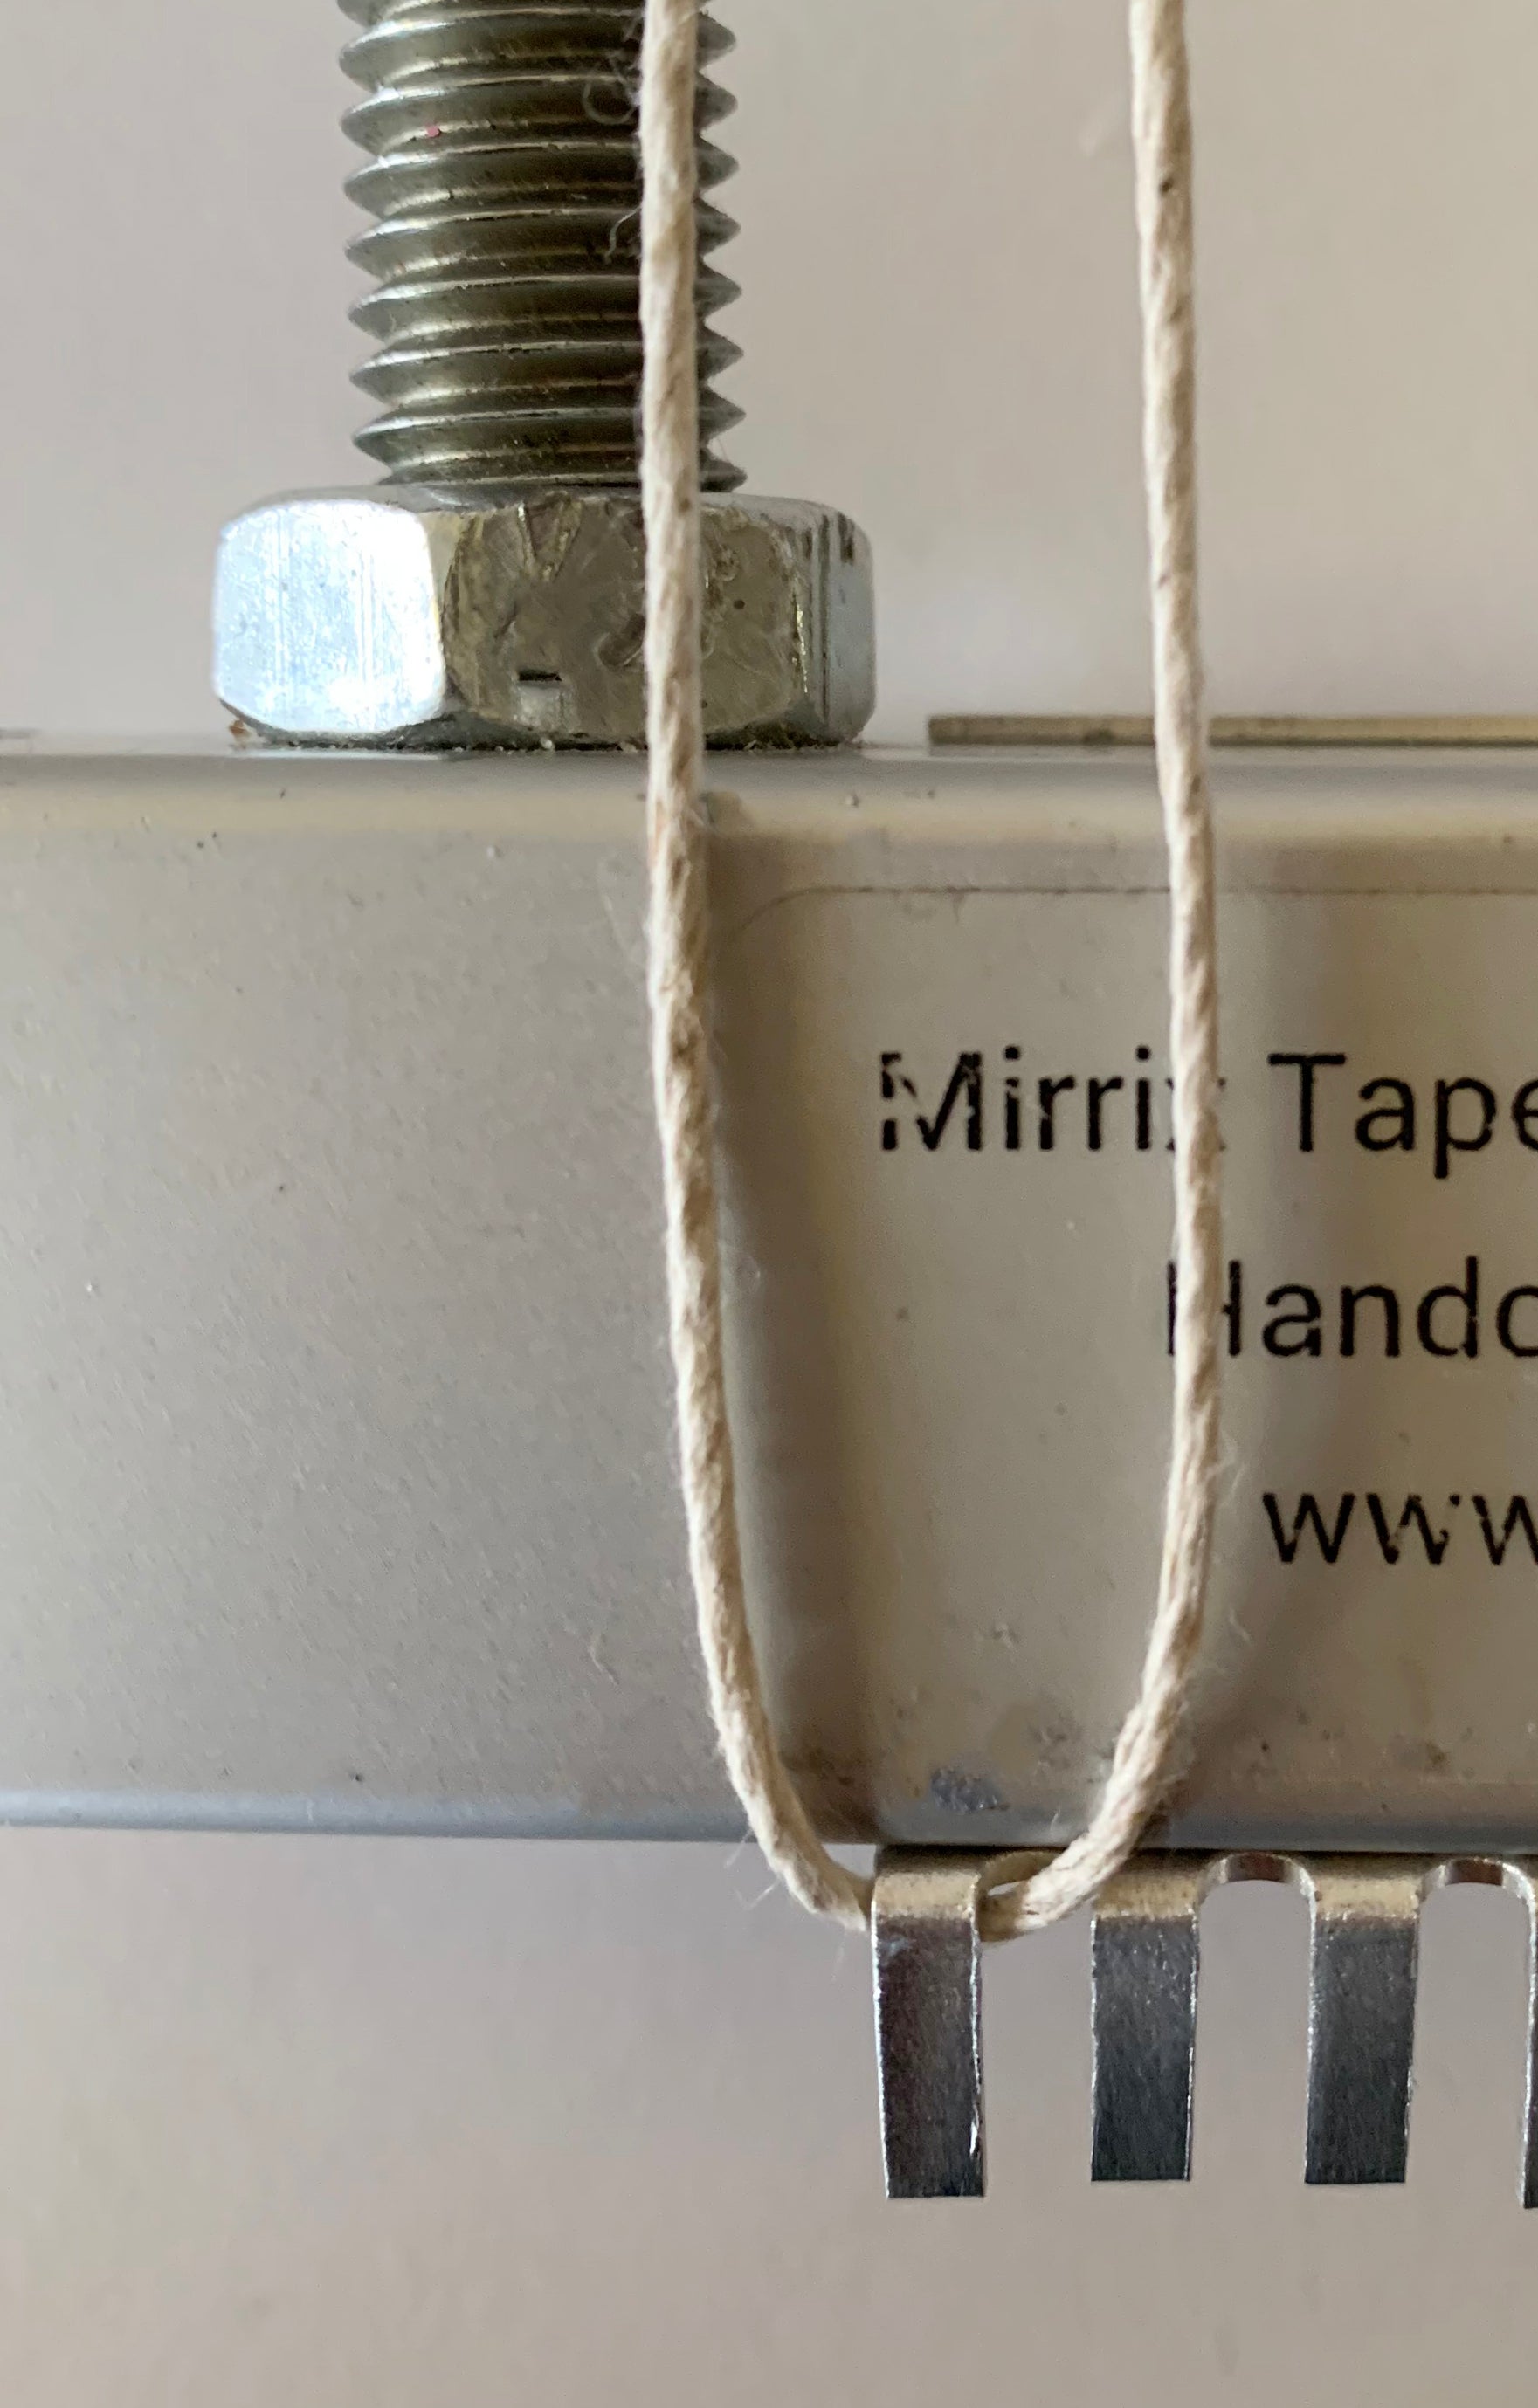
There are two ways to remove a weaving from the loom. The first one is to loosen your tension and remove the warping bar. The second is to actually cut the warp. We recommend the first one, but the second one is a little more fun to do. If you do cut the warp, make sure to do it near the warping bar. You want to be sure you have plenty of warp ends both above and below the weaving for finishing purposes.

Lay your piece down flat on a flat surface for an hour or two so the warps can rest. They're exhausted!

Now, trim your warp threads on the top and bottom of your piece. I trimmed mine to 6" on the top and 6" on the bottom.
Trim the weft threads sticking out of the back of your piece. You can put a dab of glue on each weft end to make sure it doesn't pull through if you want.

Next, tie a series of overhand knots on the individual warp threads at the bottom of your weaving. Use a needle to secure the knot close to the bottom edge of the weaving.

Now, untwist each warp that is part of your fringe (on the bottom of your weaving).

Trim your fringe if desired. I left mine long for this one.
Gently twist the warp waste at the top of your weaving to make a loop, while not distorting the weaving. Tie a small piece of warp to hold this loop in place.

Take some of your weft and wrap it around the neck of the loop and tie at the back.


You're done! We can't wait to see your finished pictures!
The Soumak Tapestry
What Do you Need To get Started?
-A Mirrix Loom
-A kit (warp and weft). You will choose the colors of wool for this piece whether Pastel or Brights. We will be using all the colors in whichever kit you are using.
-A tapestry needle
-A good pair of scissors
-A measuring tape
-An iron for steaming your finished piece (optional, but helpful)

For this tapestry, you can use either the Shasta Combs or the regular warping method with the 8-dent coil.
We will warp 19 warp threads across.
There is no need to use a shedding device for this piece since it is all soumak knotting.
Please refer to last week's warping instructions if you plan to warp using the regular warping method. Warp exactly the same way, but 19 warp threads across instead of 23.
Below we go over warping for this particular project using the Shasta combs. You can find our Shasta Combs warping instructions here. We will be following the "regular" warping method for the combs.
You will put on 10 inches of warp minimum on your loom. This is exactly the length of warp you can get on a fully extended Mini Mirrix with the copper side bars covering two inches of the threaded rod. We recommend using the 5”, 8”, 12” or 16” Loom but you may use a larger loom if that is what is available to you. For all looms except the Mini Mirrix, you need to have at least three inches of threaded rod covered by the copper side bars.

Place one comb on the top beam and one comb on the bottom beam. The teeth should be coming straight up from the top beam and straight down from the bottom beam. The combs easily slip on. If you are having an issue with the comb on the bottom beam slipping off, tie a string around it to keep it stable while you warp. You will then untie this after the loom is warped.

Attach the working end of the warp to the far left tooth on the top comb if you are using the Mini Mirrix. For any other loom size, you can start with whichever tooth you would like, making sure you have enough space to warp 19 warp threads across. Your piece does not have to be centered.
The reason I said "attach" instead of knot is because I prefer to use a slip knot at the beginning and the end. However, you can use a regular knot. A slip knot, despite its name, does not slip. Regular knots can loosen over time. To make a slip knot, make a loop with the tail end of the yarn on top. Using your thumb and index finger, you will pull another loop through this one. Then, pinch the yarn end that is attached to the spool of yarn to tighten the knotted part. Place the loop around the first tooth. Pull on the tail that you will be using the tighten the slip knot.


Bring the warp down to the far left tooth on the bottom comb.
Try to keep the tension on your warps even as you warp. Don’t worry about making it drum tight, as you will tighten the tension once you are done warping.
Bring the warp back up to the top comb and go around the next tooth in the top comb.

Continue with this pattern until you have put on 19 warp threads, counted at the top of the loom.

Tie off your last warp thread on a tine with another slip knot. Tighten the slip knot so it is flush with the tooth. Again, this will hold your tension better than a regular knot. You might have to play with this a bit to get it right, but it's well worth the effort to not have that warp get loose during the process of weaving.


Now, tighten your tension so your warp threads are taut.
We will begin our piece with a row of soumak knotting with a length of the hemp warp. With soumak you will wrap around the front of of one warp thread, then go back behind two warps and then wrap around one warp, behind two, etc. Tie knots on either side of your row of soumak.
Place the row of soumak four inches (or more if you're using a loom larger than the 5" and want more fringe) above the teeth of the bottom comb. If you are warping using the regular warping method (without the combs), place your row of soumak at the bottom of the loom like you did with the chevron tapestry.

You are now ready to begin weaving. The rest of the piece will be soumak knots like this first row!